Tuesday 6 November 2012

Cheesy Cheese Cracker Puffs

Ok these are literally the simplest and easiest things in the world! But be warned! They are VERY moreish.

Ok. You have been warned. Moving on.

Cheesy Cheese Cracker Puffs
Bare Necessities
1 1/2cups Cheddar Cheese
100g Butter
3/4 Self-Raising Flour
1tbsp Milk

1. Pre-heat the oven to 175C/350F.
2. Grate the cheese.
3. Breadcrumb the flour and butter together.
4. Mix in the cheese.
5. Mix in the milk. It should start to come together into a ball of pastry. If, after you've added all of the milk the pastry isn't holding together, gradually add a bit more, but only a tiny bit, even the tiniest bit of milk can make the difference.
6. Wrap the pastry up in clingfilm and place in the fridge to chill for 30 minutes.
7. Take the pastry out of the fridge and put it on a lightly floured surface.
8. Roll the pastry out until it's about half a centimetre thick.
9. Line a baking tray with grease proof paper.
10. Slice up the pastry into bite size squares. and put them onto the baking tray.
11. Prick each one with a tooth pick.
12. Place the tray into the oven for about 10 minutes or until they go a golden colour.
13. Take out of the oven and leave to cool.
 14. Put them into a bowl and tuck in!

Tuesday 30 October 2012

Stilton, Spinach and New Potato Quiche

I'm not really a fan of quiche. And I REALLY don't like stilton. So why, you may be asking, have I decided to make a quiche WITH stilton in? Good question. The reason is, I was watching The Great British Bake Off, and I realised something. What was the use in me writing a cooking blog, or even cooking at all, when the majority of what I cook is cakes and the like? So, I opened up my TGBBO cookbook and decided to give this a try.

Now, for someone who doesn't like quiche or stilton, this is actually really nice, so I recommend all of you out there to give this a go, it's really worth it.

N.B. You will need a 23cm Pie tin and some baking beans.

Stilton, Spinach And New Potato Quiche
Bare Necessities
For The Pastry
200g Plain Flour
100g Butter
50g Walnuts, chopped to breadcrumb size (I didn't put these in because I forgot to buy any, but I guess it tastes nice either way)
1tsp Paprika
2 Eggs

For The Filling
250g Spinach Leaves
7/roughly 200g Small New Potatoes (unpeeled)
3 Eggs
250ml Double Cream
1/2 Lemon's Zest
pinch Grated Nutmeg
pinch Cayenne Pepper
25g Grated Parmesan
small handful Thyme
150g Stilton (rind cut off)

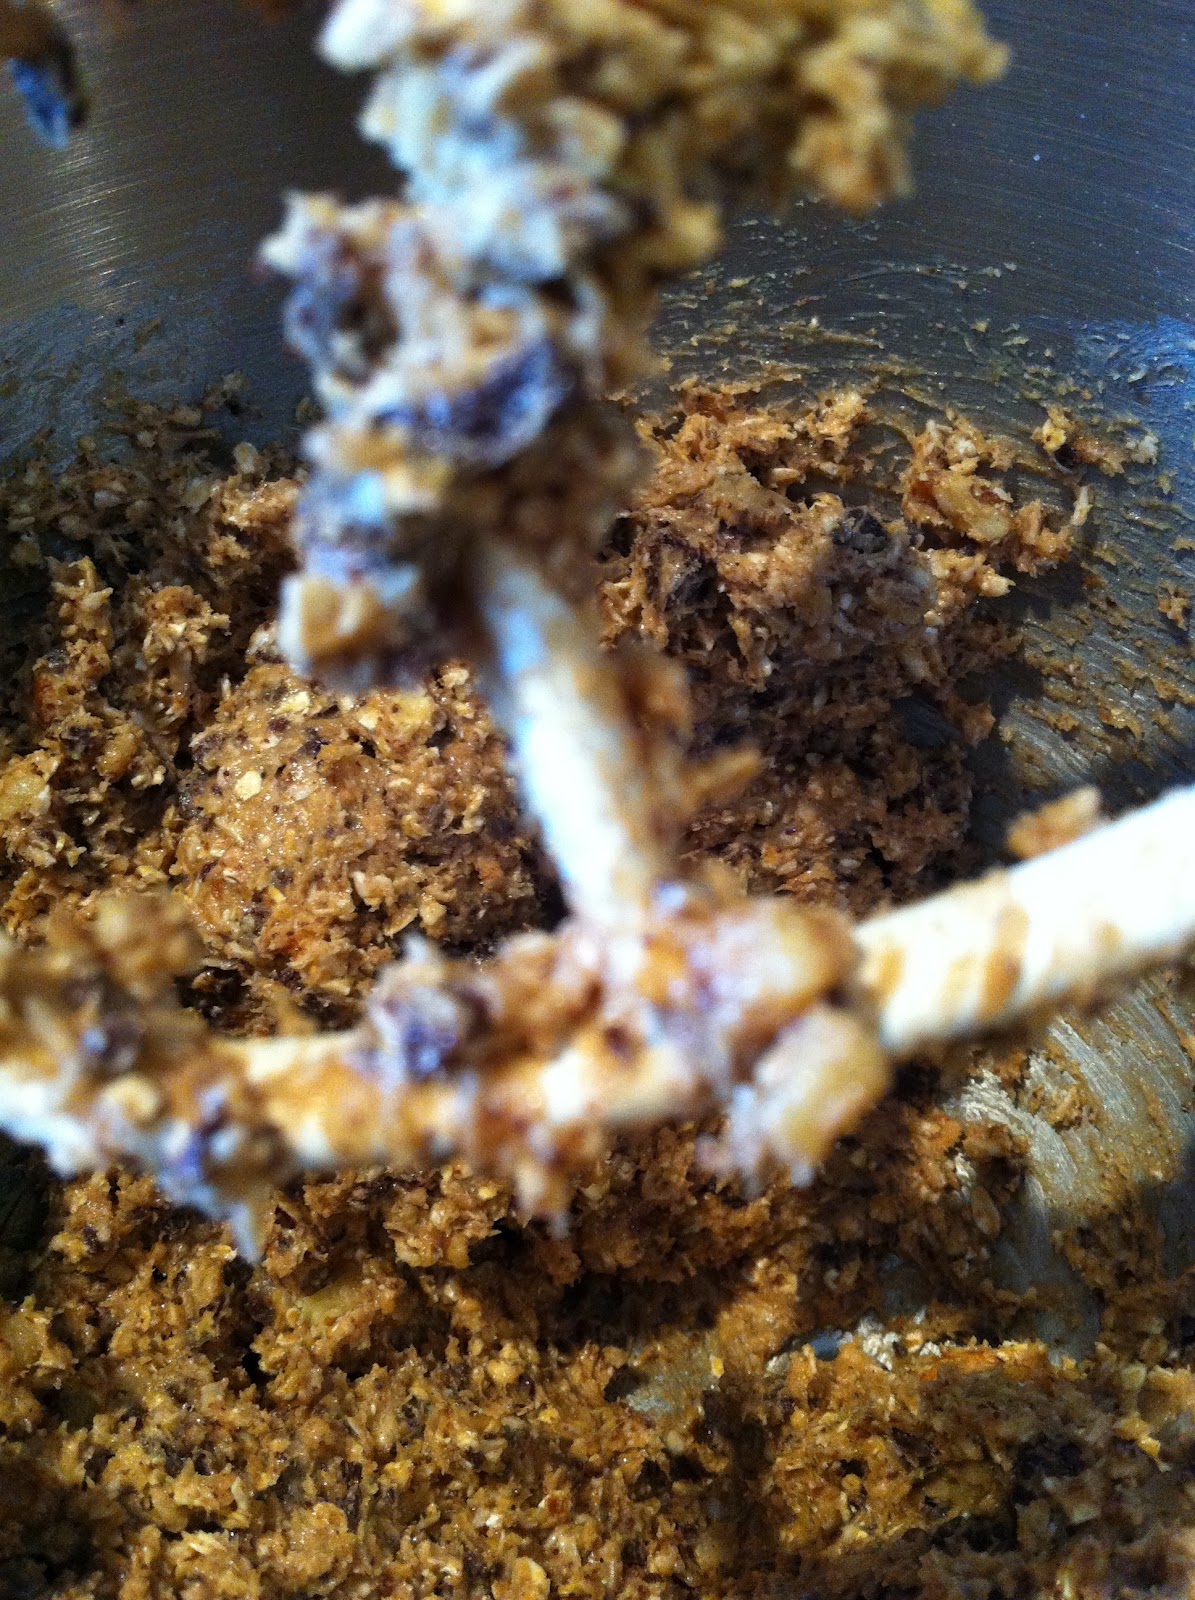
1. Breadcrumb the flour and butter.
2. Mix in the Paprika and walnuts.
3. Mix in about one and a half of the eggs (more or less, depending on what your mixture needs) and save the rest of the egg for later.
4. Gather the pastry into a ball and, on a lightly floured surface, flatten it slightly with a rolling pin until it's about 2cm thick.
5. Wrap it in clingfilm and pop it in the fridge for 30 minutes.
6. In the mean time, cook the spinach in a saucepan on a low heat until it wilts.
7. Strain the spinach and then leave to cool.
8. Once cooled, squeeze the water out of the spinach throroughly with your hands. It's important to do this, or else the quiche will be soggy.
9. Finely chop up the spinach.
10. Boil the potatoes for about 10 minutes or until tender, strain them and leave them to cool.
11. Once cooled, finely slice them up.
12. Back to the pastry. Once the 30 minutes are up, place the pastry between two pieces of cling film and roll it out so that it will line your 23cm tin, but is not too thin.
13. Grease your tin.
14. Carefully place the pastry into the tin, making sure that it is flat against all the edges and goes over the edges a bit.
15. With a fork, prick the base of the pastry and then pop it back in the fridge for 20 minutes.
16. Preheat the oven to 180C/350F/Gas mark 4.
17. Whisk up the eggs for the filling.
18. Add the cream, lemon zest, nutmeg, cayenne pepper and parmesan and keep whisking.
19. Season with some pepper to taste and then mix in the chopped spinach and thyme.
20. After the 20 minutes are up, take the pastry out of the fridge.
21. Put a sheet of greaseproof paper in the middle and fill the tin with baking beans.
22. Bake in the oven for 10-15 minutes, or until the pastry starts to turn more golden.
23. Take the pastry tin out of the oven, and take the beans out of the tin.
24. Take the egg left over from earlier and brush it over the whole inside of the pastry.
25. Put the pastry back in the oven for 5 more minutes.
26. Take out of the oven and leave it in the tin to cool.
27. Line the bottom of the pastry with one layer of the sliced potatoes.
28. Crumb the stilton and sprinkle evenly over the top of the potatoes.
29. Pour all of the filling over the top.
30. Pop the quiche back in the oven for 35-40 minutes or until the filling is set and the top of the quiche is a golden colour.
31. Take the quiche out of the oven, out of the pie tin and leave to cool for about 10 minutes.
32. Slice up (or not) and enjoy!

Sunday 30 September 2012

Chocolate Chip And Marshmallow Cookies

Oooh these are good! I made them at school over the weekend, and I am sorry to say that I cant even tell you how many we made, because we ate ridiculous amounts of cookie dough before they went in, and we ate them literally as they came out the oven. I will tell you this though, despite the fact that this recipe does make a lot of cookies, it will never be enough. Eat these with caution, as they are addictive-cooked or uncooked!

Chocolate Chip And Marshmallow Cookies
Bare Necessities
2 1/2cups Plain Flour
1cup Butter
1cup Caster Sugar
1cup Brown Sugar
2 Eggs
2tsp Vanilla Essence
1tsp Bicarbinate Of Soda/Baking Soda
1 1/2cups Mini Marshmallows
2packets Chocolate Chips

1. Preheat the oven to 190C/375F
2. Cream together the butter and sugar until light and fluffy.
3. Beat in the eggs and vanilla essence.
4. Gently mix in the flour, bicarb of soda, mini marshmallows and chocolate chips until everything is completely combined.
5. Grease a couple baking trays (we ran out at school, so we used cupcake tins).
6. Roll the dough into small balls (a bit smaller than a ping pong ball) and place them on the tray.
7. Pop the trays into the oven and cook for 10 to 15 minutes, or until golden brown.
8. Take the trays out of the oven, leave the cookies to cool (or not) and enjoy!

Wednesday 5 September 2012

THE BEST CAKE EVER

And I'm not even over exaggerating with this one. IT IS AMAZING! I mean, due to the fact that there are three separate parts to the recipe, plus the assembly, it is a bit of a hassle, but trust me on this one, it is so worth it! Having said that, even though you could probably eat way more than one slice, you probably shouldn't-not that that would stop you :P Also, apologies about the lack of a final picture, but it kind of got eaten before I could!

Anyway, back to my normal school routine and onto the recipe!

Oh, also, I stole this recipe (but edited it slightly) from a blog that I've only recently found, but I think that it's really good :)

The Best Cake Ever
Bare Necessities
The Cake
4cups/400g Plain Flour
2cups450g Granulated Sugar
3/4cups/75g Cocoa Powder
2tsp Bicarbonate Of Soda/Baking Soda
1tsp Salt
2 Eggs
1cup/250ml Strong Coffee
1cup/250ml Milk
1/2cup/125ml Olive Oil
1tbsp Vanilla Essence

Malt Icing
2cups/450g Butter
4cups/500g Icing Sugar
3tsp Vanilla Essence
3/4cups/75g Plain Ovaltine Powder
1 1/2cups/200g Dark Chocolate
1/2cup/125ml Whipping Cream

Marshmallow Icing
13 Marshmallows
1cup/125g Icing Sugar
1cup/225g Butter
1/2tsp Vanilla Essence
7oz/21.3g Marshmallow Fluff
1/2cup/125ml Whipping Cream

For The Cake
1. Preheat the oven to 350F/175C.
2. Grease and line 3 cake tins
3. Mix all the ingredients together until all the ingredients are fully combined. Note, it is really liquidy, so don't freak out.
4. Pour the mixture in even amounts into each cake tin and pop in the oven for about 20 minutes or until cooked through.
5. When they are cooked through, put them onto a cooling rack and leave them to cool.


For The Malt Icing
1. Cream together the butter and sugar until it's light and fluffy.
2. In a separate bowl, melt the chocolate.
3. Add the vanilla and Ovaltine to the butter and sugar.
4. Beat in the melted chocolate until it is fully mixed and smooth.
5. Add the cream and beat the mixture until the texture gets lighter and fluffier.
6. Put the icing in a bowl and the store it in the fridge until the assembly.

For The Marshmallow Icing
1. Melt the marshmallows in a water bath (the same way you would melt chocolate).
2. Cream the butter and sugar together until it's light and fluffy.
3. Add the vanilla essence, marshmallow fluff, cream and melted marshmallows until the mixture is fluffy. Note: at first, the mixture will deflate slightly, but just bear with it, it will puff up again!
4. Transfer the icing to a bowl and put it in the fridge to chill until the assembly.

For The Assembly
1. Slice each cake in half longways so that you end up with six (thinner) round cakes.
2. Split the malt icing roughly into four parts, and the Marshmallow roughly into three parts.
3. Place the first cake on a plate and then spread the marshmallow icing on top.
4. Place the next cake on top and repeat step 3, alternating between the marshmallow icing and the malt icing, each time using one of the rough parts that you made earlier.
5. Once you have placed your last cake on top, spread a thin layer of the malt icing over the whole cake to capture the crumbs, and place the cake in the fridge to chill for 15-20 minutes.
6. Take the cake out of the fridge and spread the last layer of malt icing over the cake.
7. Serve up and enjoy!

Wednesday 15 August 2012

The Cheesiest Cheese Sauce

Apologies again, but in all fairness, I was away at the Edinburgh Fringe Festival for a week with no internet, so posting was a tricky one. However, having said that, I had so much fun, so I thought I'd tell you about some amazing shows that I went to see, if you're going down there, I would definitely recommend you go see them!
1. Katherine Ryan: Natures Candy An absolute treat to go watch, very funny, but not suitable for younger people, though not wholly obscene.
2. Jeff Leach: Boyfriend Experience Very unsuitable for younger people, but hilarious nonetheless.
3. Daniel Sloss: The Show One of the youngest at the fringe, but a great must-see, this guy has talent.
4. Out Of The Blue Not a stand up like the other shows I've suggested. This show is a group of guys from Oxford in a fantastic acapella group, performing modern chart toppers and old classics, all with a sence of style and comedy. Great fun.

So now that's done, before we get on to a fabulous recipe, I would just like to say that I will be away for two weeks, so I don't think I will be able to write anything during those weeks, so apologies all round, but I will repay you with a monstrously delicious recipe when I get back!

Now. Onto the recipe. I came up with this from scrap, and it's quite different to other cheese sauce recipes I've come across, but its really good, so I know that I'll definitely be making it again!

The Cheesiest Cheese Sauce
(Serves 2-3)
Bare Nececities
150-200g Uncooked Shell Pasta
1cup Double Cream
150g Cheddar Cheese
1/2cup Cream Cheese
1/4cup Milk
Parmisan to taste
Pepper to taste

1. Pour the double cream into a medium saucepan.
2. Chop up the cheddar, add it to the cream and melt on a low heat.
3. Once the cheese has melted, add the cream cheese and stir it in until the mixture is totally smooth.
4. Stir in the milk and pepper.
5. In another saucepan, cook the pasta in simmering water until it's cooked. Cooking times for pasta will vary, so check the back of the packet.
6. Once the pasta is cooked, strain it and stir it into the sauce, then serve up with a bit of parmesan and enjoy!

Thursday 2 August 2012

Peanut Butter Cookies

Ok, so I really do have to appologise. I've been so lazy as of late when it comes to writing these posts. It's kind of reverse logic why I haven't been so good with the whole blogging thing. I'm usually right on time during term time because I've got lots of work to procrastinate. Either way, I have got a recipe for you all today, and these are a gem! (if you like peanut butter that is).


Peanut Butter Cookies
Bare Necessities
1cup Butter
1cup Peanut Butter
1cup Caster Sugar
3/4cups Brown Sugar
2 Eggs
3cups Flour
1 1/2tsp Baking Soda/Bicarbonate Of Soda


1. Preheat the oven to 375F/190C.
2. Cream together the butter, peanut butter, caster sugar and brown sugar together.
3. Beat in the eggs until the mixture is light and fluffy.
4. Gently mix in the flour and the bicarb of soda until it is fully combined.
5. Scoop up a small ball of cookie dough, a little smaller than the size of a golf ball, but don't worry if it's a bit bigger or smaller.
6. Get a small bowl of sugar (granulated or caster) and roll each ball of dough in sugar (don't cover the whole thing, just a little bit).
7. Place each ball of dough onto a baking tray, each spaced out, and pop them in the oven for about 8 minutes or until they are golden brown.
8. Once they are cooked, place them on a cooling rack to cool and then enjoy!

Tuesday 17 July 2012

Healthy (ish) Flapjacks

I say healthy (ish). This is because, in comparison to normal flapjacks, they are healthy, because they don't have any golden syrup in them, plus they have a banana; but in comparison to your average healthy food, they really aren't healthy at all. Either way, I love flapjacks, and these are super easy to make and super yummy as well, so enjoy!


NB: I didn't put any cups measurements in, because most of these measurements are just too small.


Healthy (ish) Flapjacks
Bare Necessities
80g Brown Sugar
40g Butter
60g Margarine
250g Oats
1 Banana
2tbsp Runny Honey


1. Preheat the oven to 220C/gas mark 5/430F.
2. Melt the butter and margarine in a saucepan.
3. Mix in the sugar and honey until everything is completely mixed in.
4. Mix in the oats.
5. Mash up the banana until it is a puree and then add it to the mixture.
6. Grease and line a baking tin.
7. Pour the mixture into the tin and then spread it evenly so that it is (pretty much) flat.
8. Pop the flapjack mixture in the oven for about 10/15 minutes, or until it is just starting to go golden.
9. Take the flapjacks out of the oven, drizzle some honey over the top and then put them back in the oven for another 5 minutes.
10. Take them out of the oven, cover them with a tea towel and leave them to cool.
11. Enjoy!

Tuesday 10 July 2012

Easy Peasy Lemon Squeasy Sponge Cake (but without the lemons)

This recipe is just so easy! Literally, it only took me like, 5 minutes to make, and it's so hard to mess this up (unless you're my friend who forgot to put sugar in hers). This is such a good recipe just to have for those times when you need to quickly whip something up that everyone will like, it just ticks all the boxes!


Easy Peasy Lemon Squeasy Sponge Cake
Bare Necessities
(makes 2 cakes)
125g Margarine
125g Castor Sugar
2 Eggs
1/4tsp Vanilla Essence
125g Self-Raising Flour
1tsp Baking Powder


1. Preheat the oven to 165C/gas mark 5.
2. Grease and line 2 cake tins.
3. Beat together all of the ingredients until all the ingredients are fully combined and there are no lumps in the mixture.
4. Pour the mixture into the two tins and pop into the oven for about 25 mins, or until they're golden on the top and are cooked all the way through.
5. Take the cakes out of their tins and place on a cooling rack to cool.
6. OPTIONAL: Once the cakes are cool, put a bit of jam on one, put the second cake on top and serve up!

Wednesday 27 June 2012

The Best Cookies Ever

The title doesn't lie. These are literally the best cookies ever. I never tire of making these because they are just so simple, despite there being a lot of ingredients to it. I also never tire or eating these, and I could easily go through an entire batch of these before they've even gone in the oven! I won't, however, take any credit for this recipe, I got the recipe from a friend of mine, and I think it was her grandmother or something who wrote the recipe, and I think that this is one of the few recipes that I haven't changed over time.
Either way, have fun!


The Best Cookies Ever
(makes about 19 cookies)
Bare Necessities
4oz Butter
2oz Brown Sugar
2oz Caster Sugar
1 Egg
1/2tsp Vanilla Essence
3oz Plain Flour
1/2tsp Baking Soda/Bicarbinate Of Soda
1/2tsp Salt
4 1/2oz Chocolate Chips/Finely Chopped Plain Chocolate
3oz Rolled Oats
1 1/2oz Desiccated Coconut
2oz Walnut Pieces


1. Pre-heat the oven to 180C/350F/Gas mark 4.
2. Grease and line two baking trays.
3. Cream together the butter and sugar until it is light and fluffy.
4. Beat in the egg and vanilla essence.
5. Mix in the flour, bicarb of soda and salt until fully combined.
6. Mix in the chocolate, coconut and walnut pieces until they are fully mixed in.
7. Roll the mixture into small, golf ball sized balls and put them on the tray.
8. Pop the cookies in the oven for 10-15 minutes or until golden brown.
9. Enjoy!

Wednesday 20 June 2012

Very Yummy And Oh So Moist Chocolate Cupcakes

So I recently read somewhere that if you use olive oil instead of butter that, instead of them becoming oily and gross, they actually just become more moist, so I decided to try that with these cupcakes and it actually worked out really well! These cupcakes were so moist and rich and delicious, and the chocolate icing really just tops them off!


Very Yummy And Oh So Moist Chocolate Cupcakes
Bare Necessities
(makes about 12 cupcakes)
For The Cupcakes
1 1/2cups/150g Plain Flour
1cup/225g Sugar
3tbsp Cocoa Powder
1/4tsp Salt
1tsp Baking Soda/Bicarbonate Of Soda
1tsp Vanilla Essence
90ml/6tbsp Oil
1cup/250ml Water
15 Marshmallows


For The Icing
1/2cup/112g Butter
2/3cups/65g Cocoa Powder
3 1/4cups/400g Icing Sugar
100ml Milk
1tsp Vanilla Essence


1. Preheat the oven to 350F/175C and line the cupcake tin with cupcake cases.
2. Whisk together all the cupcake ingredients (apart from the marshmallows) together until the mixture is completely smooth.
3. Put one marshmallow in each cupcake case and then pour the cupcake mixture equally into each of the cupcake cases.
4. Pop the cupcakes in the oven for 15-20 minutes or until the cupcakes are cooked through.
5. Once the cupcakes are cooked and leave them to cool.
6. Beat together all the icing ingredients until they are light, fluffy and smooth.
7. Put the icing into an icing bag and then put the icing bag in the fridge to cool for half an hour.
8. Once the icing is cooled, pipe it onto the cupcakes and enjoy!