Tuesday 28 February 2012

Oreo Brownies

Ok, so I've recently gone on a choco-craze, and during my recipe web browsing sessions, I have yet to encounter something that tackles my choco-cravings so well. I mean, things have come close, but not close enough. This takes yum to a whole new level, and, combining the moist brownie recipe that I have with the Oreo icing recipe that I found here was probably one of the best things I've done in 2012. I'm not even joking. You take a bite and it's like you've entered choco-heaven and these are the fluffy clouds upon which you walk. They're just THAT good.

So maybe I haven't convinced you yet? maybe you need more persuasion? Well if you say that you haven't been convinced yet then you are a BIG FAT LIAR! Ok, so that's an exaggeration, but trust me, it's not at hard decision to make. Bake these and, if for some bizarre reason you don't like them (maybe you're allergic to chocolate or something), or you're on a diet (I despise even the very mention of them), just give them to your friends, they will be ETERNALLY GRATEFUL.

NB. Bestowing these upon your friends and relatives will have the side affect of them constantly asking you if you've made any more and if they can have all of them.


Oreo Brownies
Bare Necessities
For The Brownies:
75g Self-Raising Flour
15g Cocoa Powder
100g Butter
175g Castor Sugar
100g Plain Chocolate
2 Eggs

For The Icing:
4 tablespoons unsalted butter at room temperature
2cups/250g Icing Sugar
4 tablespoons heavy cream
2 packets
Oreos

1. Preheat the oven to 170C/gas mark 4.
2. Grease and line an oblong tin.
3. Sift flour and cocoa powder into a bowl.
4. Put the butter and sugar into a pan and add one tablespoon of water.
5. Put on a low heat and stir until it has all melted and mixed.
6. Turn off the heat, break the chocolate into pieces, add to the pan and stir until melted and mixed.
7. Wait until the mixture has cooled enough so that you can comfortably put your hand against the side of the pan. As you've probably gathered by now, I'm impatient, so I sit the pan in a cold water bath (careful not to let any water get into the pan, obviously) and cool the mixture that way.
8. Beat in the eggs.
9. Pour the flour and cocoa powder into the mixture and fold with a wooden spoon until completely mixed.
10. Pour the mixture into a tin.
11. Bake for about 15-20 minutes or until cooked through. You will want to cook them a tad more than normal, as you will need them slightly firmer in order for you to be able to spread the icing on the top.
12. Once they're cooked, place it on a cooling rack to cool fully.
13. In a bowl, blend the butter, sugar and cream until smooth, adding sugar and cream until a good, spreadable consistancy.
14. Crush about 8-10 of the oreos. I did this by putting them in a freezer bag, sealing it and smushing them with a hammer.
15. Stir the crushed oreos into the icing.
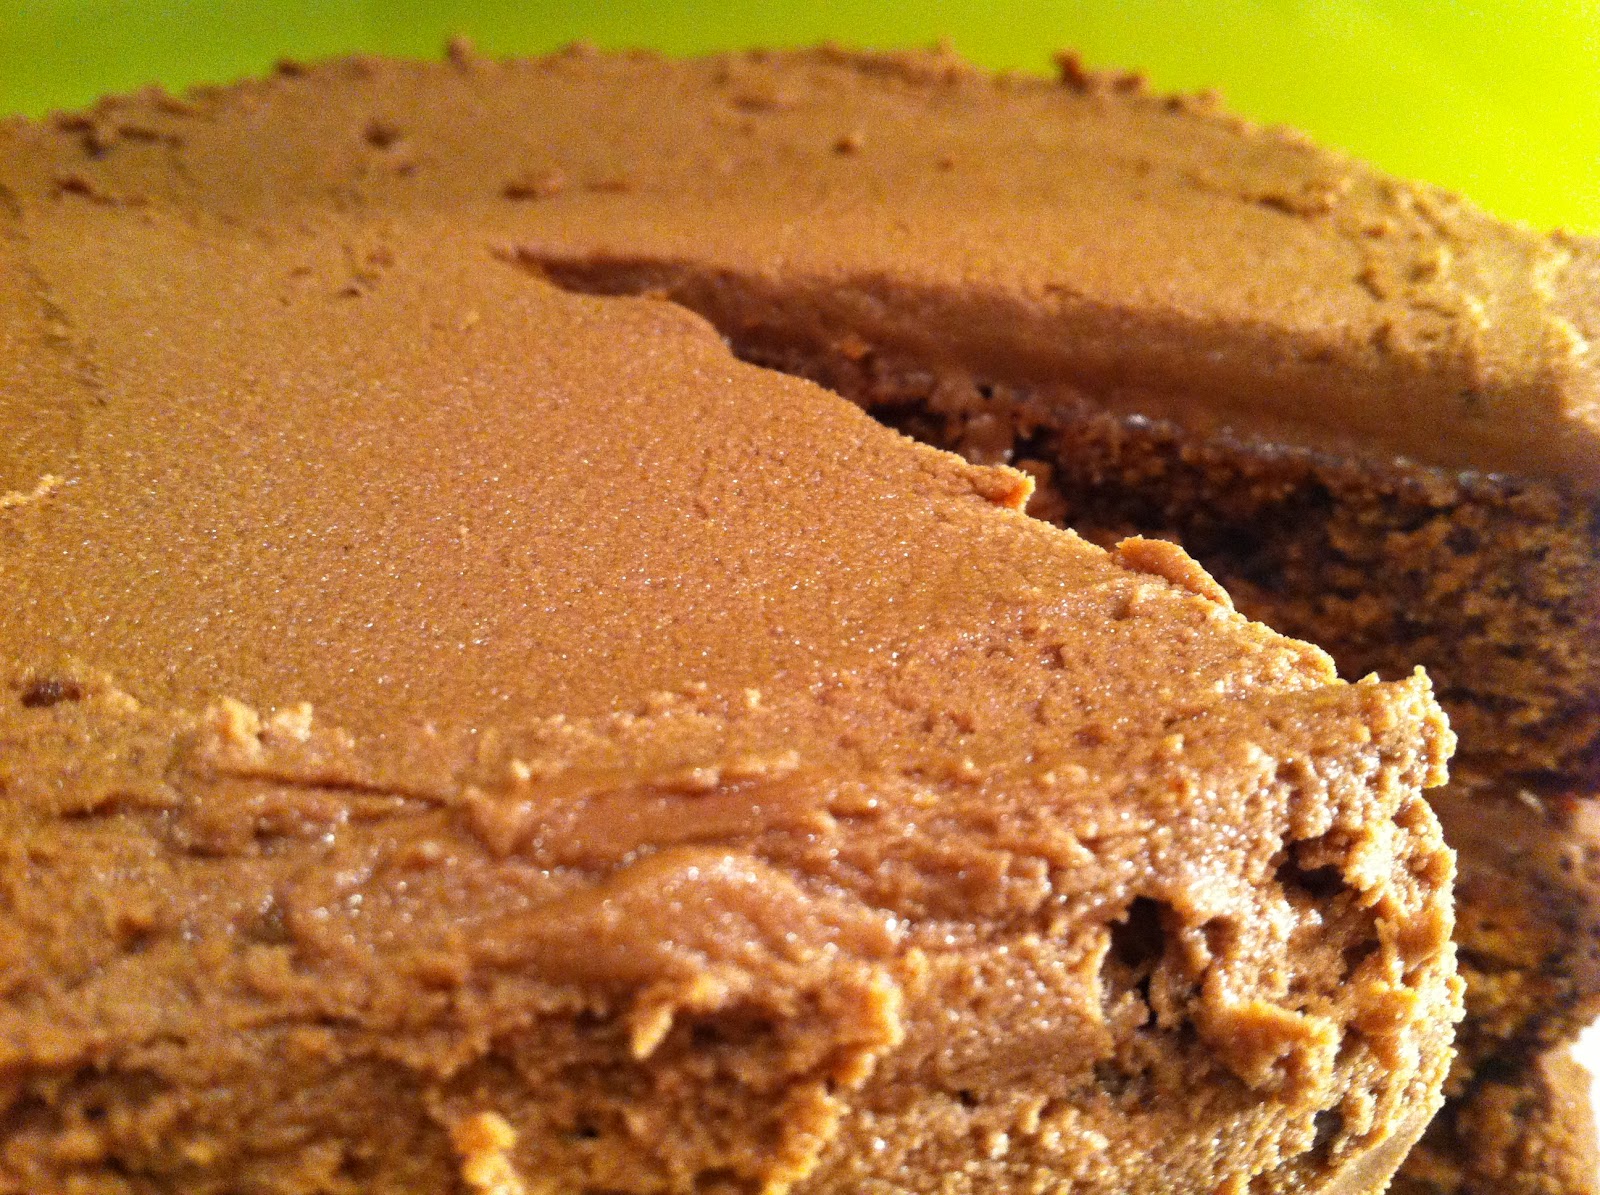
16. Spread the icing over the brownie.
17. Cut about 5 of your oreos into quaters and place them at even intervals accross it to mark out individual pieces.
18. Slice up the brownies and enjoy!

Tuesday 21 February 2012

Red(ish) Velvet Cake

So my mum has been bugging me for absolutely AGES to make red velvet cake, so eventually I appeased her constant pleading and made it. Sadly though, I didn't use great quality food dye, so it turned out orangey-red instead, but I didn't mind! I just slapped on some icing so no-one could see, and it tasted great anyways!

Whenever I make a big cake like this, it would never last long enough to be finished, and would go stale, but what my mum does is put half in the freezer and leaves it there until we've eaten all the cake that's out already. And before you all go questioning this, it actually freezes pretty well, even I was surprised!

That's about all I have to say for this week, so I'll get straight to the recipe!

Red(ish) Velvet Cake

Bare Necessities
The Cake
3 1/2cups/350g Plain Flour
1tsp cocoa powder
1tsp Bicarbonate Of Soda
1 1/2tsp Baking Powder
1 1/2cups/350g Caster Sugar
1 1/2cups/350g butter
200ml Milk
1tsp Vanilla Essence
2 eggs
Good Quality Red Food Colouring (I forgot to write down how much it is, but bear in mind that it is a lot, so if you only have about half a little bottle, I would advise getting another one just in case)

The Icing
just under 1/2cup/100g Butter
just under 1cup/200g Cream Cheese
4cups/500g Icing Sugar
1tsp Vanilla Essence
 

1. Preheat the oven to 180C/356F.
2. Grease and line three cake tins.
3. In a medium bowl mix the flour, cocoa powder, bicarbonate of soda and baking powder together.
4. Add the sugar, butter and milk and blend.
5. Beat together the vanilla essence and eggs.
6. Add this, drop by drop to the batter, whilst constantly beating the mixture so that it doesn't curdle. 
7. Mix in the food dye bit by bit until it is the colour you want.
8. Pour the batter equally into the three tins.
9. Pop in the oven and bake for 25-30 minutes or until the cake is thoroughly cooked. It may take longer if you've put in LOADS of colouring as to change the consistency.
10. Once the cakes are cooked, take them out of the oven and turn them out onto a cooling rack and leave them until they are completely cool.
11. In another bowl, cream the butter, cream cheese and vanilla essence together.
12. Beat in the icing sugar until it is completely combined. Add more milk or icing sugar until you get the consistency you want. Remember that you want it to be soft enough to spread, but stiff enough so that it won't fall straight off the cake.
9. Roughly split the icing into four. This will help you put even amounts of icing on each section of the cake this will also mean that you will be less likely to run out.
10. Pick the ugliest of your three cakes and place it on a plate.
11. Spread one quarter of the icing on top of it.
12. Place the second cake on top, making sure you save the flattest for last and spread another quarter on top.
13. Now put the last cake on the top and cover the whole outside of the cake with one of the remaining quarters of icing. This will trap the crumbs, so don't worry that it doesn't look great.
14. Put the cake into the fridge to chill for about 5-10 minutes.
15. Take the cake out and spread the rest of the icing over the cake to neaten it up and hide all the crumbs.
16. Slice up and enjoy!

Tuesday 14 February 2012

The Cake Of The Gods

Happy Valentines Day! To those that are seeing someone, that is. However, for the singles around the world, the fourteenth of February is merely a day to remind us that we are, for yet another year running, single. But wait! Before you go and play 'All By Myself' at the maximum volume whilst you sit alone in your room and cry, make this! When you're fraught with unrequited love, make something that may not love your waistline, but will soothe your injured heart. I mean, what isn't to love about a brownie cake with Nutella butter cream icing?


I am proud to say that this week's post will feature absolutely no thanks to any blog, recipe book or friend, for I wrote this recipe myself, without the use of Google or Wikipedia, only my own imagination. And now, dear blogosphere, I present to you, the modestly named: CAKE OF THE GODS.


For simple ease, I've put all the ingredients together in the photo, but separated them out in writing. Aren't I nice?


The Cake Of The Gods
Bare Necessities
The Cake
150g/1 1/2cups Self Raising Flour
30g/1/3cup Cocoa Powder
200g/just under 1cup Butter
350g/1 1/2cups Castor Sugar
200g/1 1/3cups Plain Chocolate
4 Eggs


The Icing
1cup/236g Nutella
1/2cup/112g Soft Butter
1tsp Vanilla extract
4tbsp Milk
3cups/375g Icing Sugar


1. Preheat the oven to 170C/gas mark 4.
2. Grease and line an oblong tin.
3. Sift flour and cocoa powder into a bowl.
4. Put the butter and sugar into a pan and add one tablespoon of water.
5. Put on a low heat and stir until it has all melted and mixed.
6. Turn off the heat, break the chocolate into pieces, add to the pan and stir until melted and mixed.
7. Wait until the mixture has cooled enough so that you can comfortably put your hand against the side of the pan. As you've probably gathered by now, I'm impatient, so I sit the pan in a cold water bath (careful not to let any water get into the pan, obviously) and cool the mixture that way.
8. Beat in the eggs.
9. Pour the flour and cocoa powder into the mixture and fold with a wooden spoon until completely mixed.
10. Pour the mixture into 3 cake tins
11. Bake for about 25-30 minutes or until fully cooked
12. Once the cakes are out, leave them on a cooling rack to cool.
13. Meanwhile, put the Nutella, vanilla essence, milk, icing sugar and butter in a medium bowl and blend them (but blend them slowly at first or else the icing sugar goes everywhere in a sticky, yummy, sugar cloud).
14. Once the cakes are cool, put one onto a plate and spread roughly a quarter of the icing on top.
15. Place the second cake on top and do the same again.
16. Now put the third cake on top (I saved the flattest one for this), and cover the entire cake in a quarter of the icing. This catches all the nasty crumbs.
17. Place the cake into the fridge to chill for a bit.
18. Take the cake out of the fridge and spread the remaining icing evenly over the cake.

Tuesday 7 February 2012

Hasselback Potatoes

Mmmmm these are good! I made than the other day as a sort of side dish for dinner, but in the end, we had finished them before dinner had even been served!


Good old Google tells me that Hasselback potatoes are a Swedish version of your traditional English baked potato. I personally think that they are terrific finger food and I love how they have so much freedom!


Nb. I haven't put measurements for this recipe simply because you can put as much as you feel necessary. Also, it depends on the size of the potatoes, because if you're using bigger potatoes, you will probably need more.


Hasselback Potatoes


Bare Necessities
4-6 Medium Baking Potatoes
2-3 cloves Garlic
Cold Butter
Coarse Salt
Pepper
Olive Oil


1. Pre-heat the oven to 200C/392F.
2. Scrub your potatoes under some hot water to make sure they're thoroughly clean.
3. Slice your potatoes into slices about half a cm apart, being careful not to go all the way to the bottom, as you want your potato to stay in one piece.
4. Cover a baking tray in foil or baking paper and then arrange your potatoes on the tray.
5. Thinly slice up your garlic and put one or two small slices in between the slices of potato. I did it every other slice as to make it a not too overpowering taste.
6. Chop up your butter into small cubes and put these in between the remaining slices.
7. Pour a dash of olive oil over your potatoes, followed by a sprinkling of salt and pepper.
8. Put into the oven for about 50 mins or until the potatoes are cooked through. To test this, just roll one over, jab a fork into it, and if the insides appear to be soft, the potatoes are cooked. If not, put them in for a bit longer.

Wednesday 1 February 2012

Nutella Ice Cream

OK, so recently I've been going on a bit of a Nutella craze, baking almost every Nutella recipe in sight, and using over two jars of the stuff in the process. I love Nutella. Who doesn't? It's chocolaty, but nutty at the same time and oh-so-good. Sometimes I am sorely tempted to just sit down with a jar of it and a spoon, but then I am reminded of my ever-present conscience telling me that I really shouldn't because I'd regret it. Which I would. So, instead, I just put it in food, so that I can forget just how much I'm eating. Sneaky huh?


So here I present to you, one of my Nutella escapades (and this one I put real nuts in, so it's healthy...right?): Nutella Ice cream. Ridiculously good and deadly easy to make. Enjoy! (I know I did...)


Nutella Ice Cream


Bear Necessities
2cups/500ml Whole Milk
1cup/250ml Double Cream
1/4cup/60ml Granulated Sugar
8oz/1cup Nutella
1cup/175g Hazelnuts (optional)


1. Whisk together the milk, cream, sugar and Nutella.

2. If you are using hazelnuts, put them all into a freezer bag, seal it, and crush them (as small as possible is preferable, I did them a bit too big, the smaller the better).
3. Combine the nuts with the rest of the mixture.
4. Chill in the fridge for 10 mins.
5. Pour the mixture into the ice cream machine and follow the manufacturer's instructions.