I'm an unashamed banana fan. I love them on their own, sliced up with custard, blended into a milkshake, placed on a pancake, mashed into an ice cream - you name it, I love it! But as any banana fan will know, they have a notoriously small 'yummy' window between leaf green and mud brown. So much so, in fact, that across the internet, people are making various comics expressing their outrage at a banana's inability to stay at optimum yumminess for long enough.
However, not all is lost! Thankfully there is one recipe that is renowned for salvaging these now brown bananas - banana bread! Unfortunately I've often found banana bread to be quite stodgy and heavy, so I decided to instead make banana cake. I would attribute the recipe but a) I can't find where I found it, and b) I changed it a bit anyways, so I guess it doesn't really matter that much.
Also, funny story... actually not really that funny but oh well. Basically, when my cake came out of the oven, I was letting it sit in the tin for a bit, and I noticed that the hot air coming up from the cake was making the baking paper move, and it made it look a bit like it was breathing, so I took a video of it, pretty cool, huh?
On with bananas!!
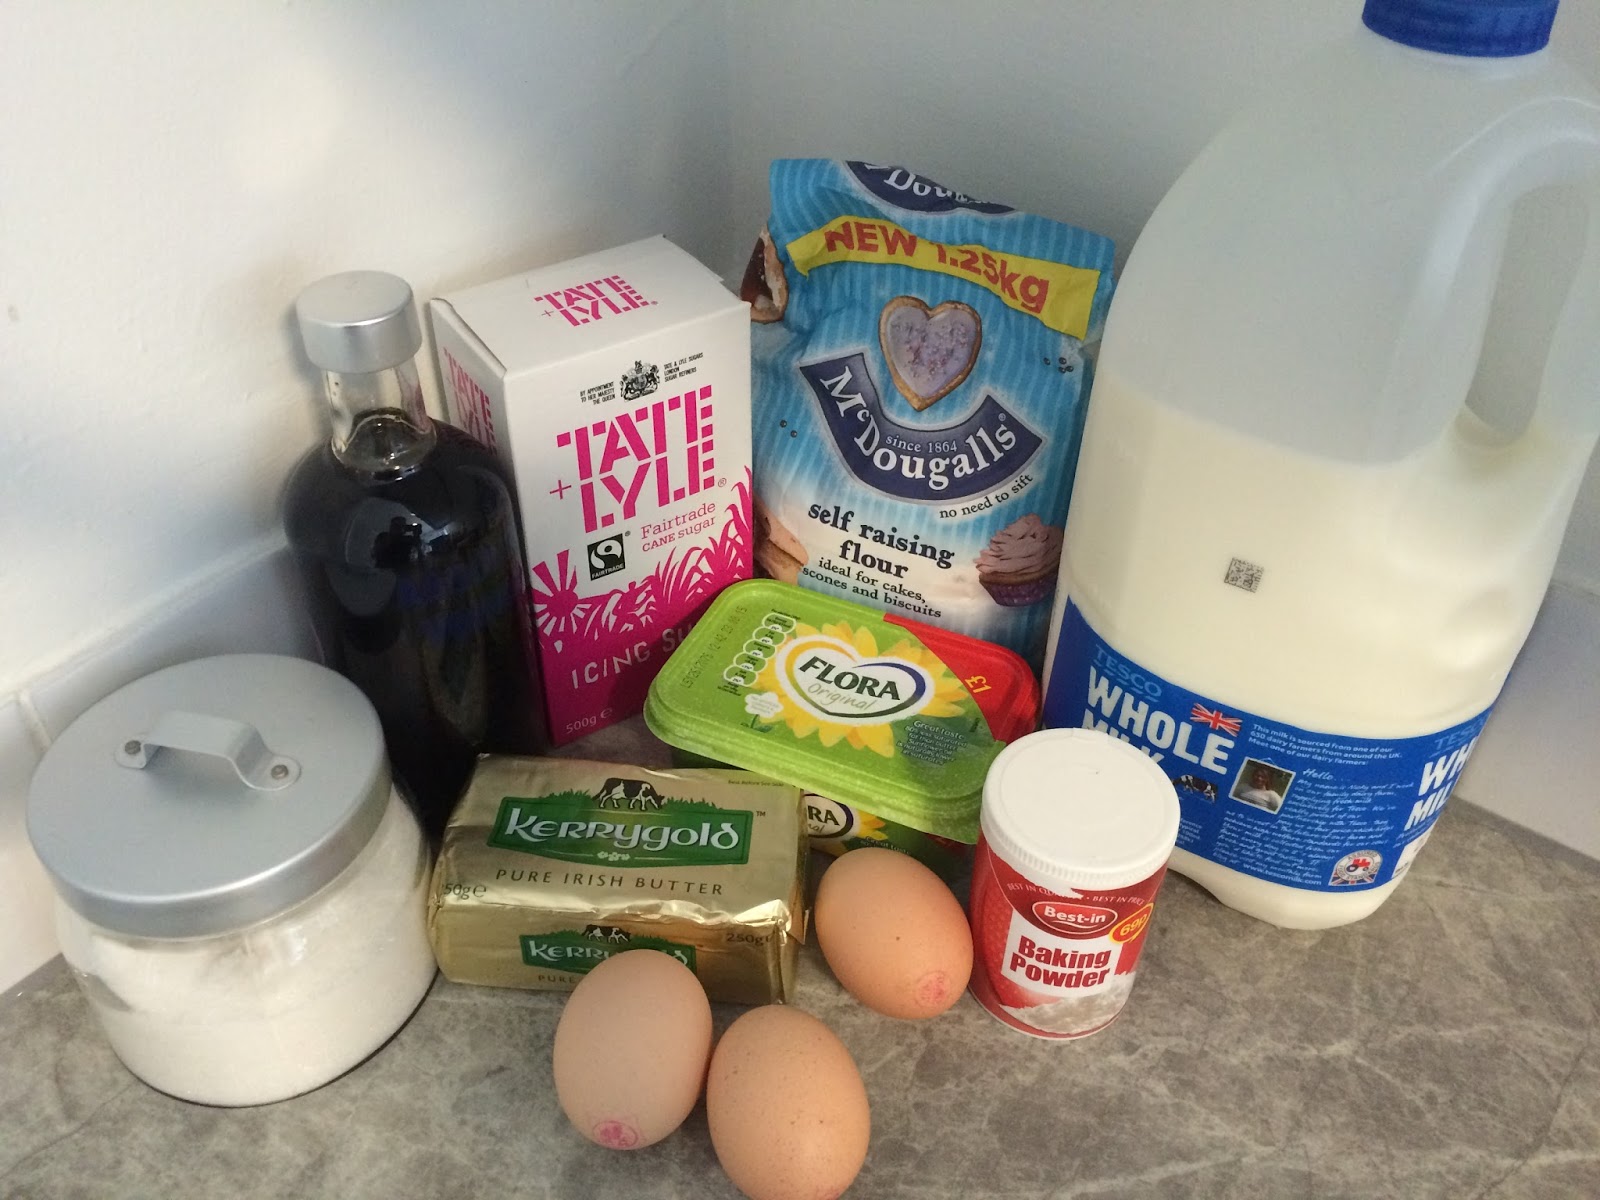
Banana Cake with a Cream Cheese Drizzle

For the Cake:
140g Butter
140g Sugar
2 Eggs
140g Self-Raising Flour
1stp Baking Powder
2 Brown-ish Bananas
For the Icing:
55g Cream Cheese
30g Butter
175g Icing Sugar
1tsp Milk
 1. Pre-heat the oven to 170C/Gas mark 4/340F.
2. Grease and line a loaf tin. I'd recommend letting the paper stick out of the pan a bit because it makes it easer to get the cake out afterwards.
 3. Cream together the butter and sugar until light and creamy.
4. Slowly beat in the eggs.
5. In a separate bowl, mash the bananas. They don't have to be completely pureed, but just a bit liquidy.
6. Fold in the flour, baking powder and bananas until fully combined.
7. Pour the mixture into the tin and pop in the oven for 45 minutes-1 hour, or until it's golden brown and cooked through.
 8. Take the cake out of the oven and let it sit for 5-10 minutes in the tin, before moving it to a cooling rack to cool down.
9. Whilst the cake is cooling, beat together the cream cheese, butter, icing sugar and milk until they're fully combined and creamy.
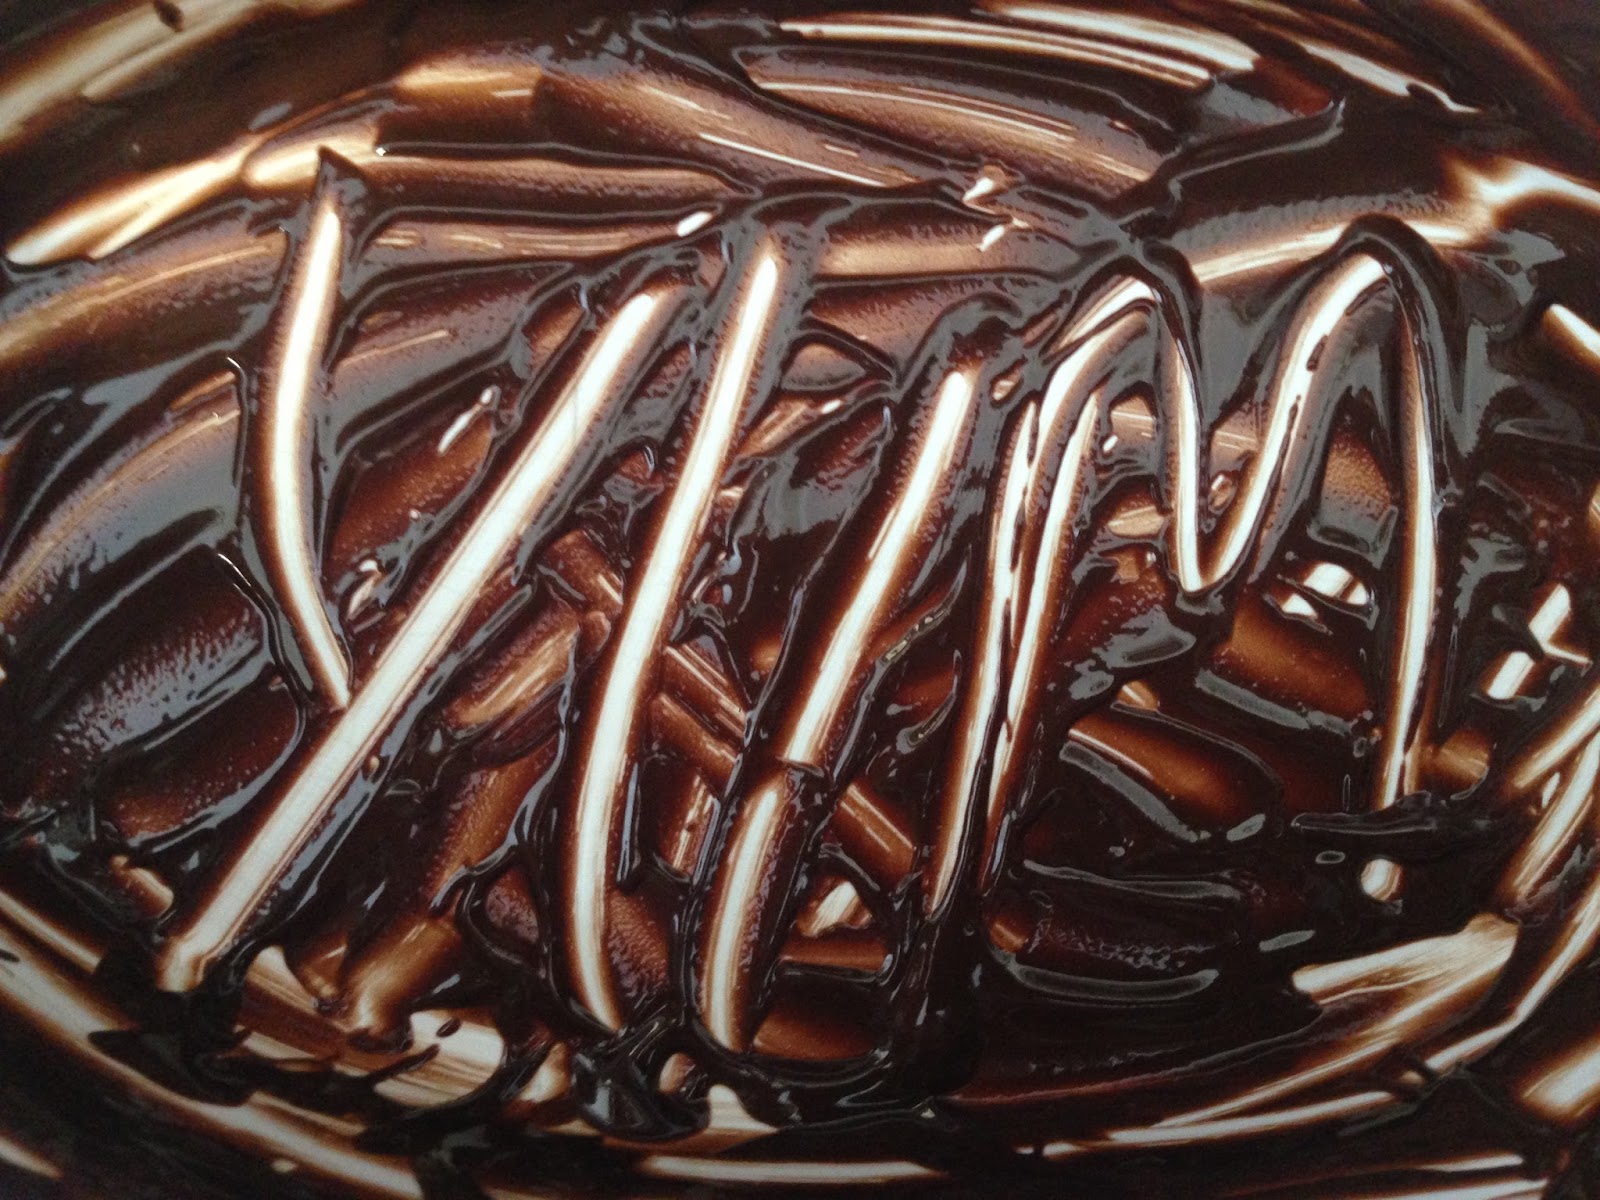
10. Once the cake is mostly cooled down, but still slightly warm, move it to a plate, and drizzle the icing over the cake. You can choose to do only a little drizzle, but I chose to cover the cake with it.
11. Either leave the cake to cool down completely before serving, or take a sneaky slice before, and enjoy!!